

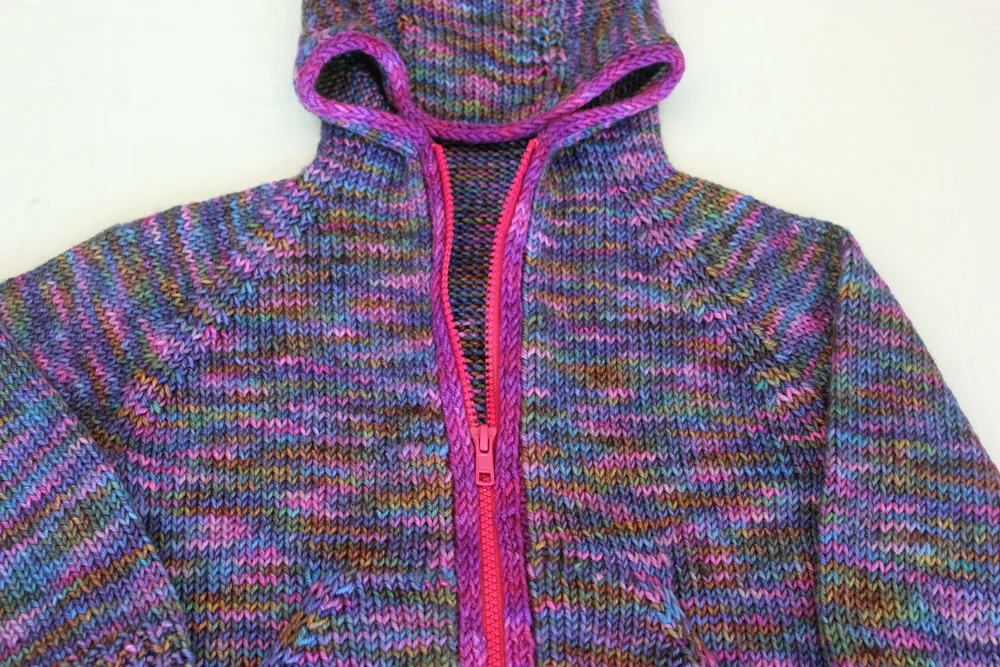
Mom's lovely R&R Hoodie pictured in this tutorial was knit in our Iris colourway with a contrasting icord edging done in Jewel. I'm happy to report that the 4 year old girl it was gifted to loves it.
Hello friends! As you may know, my mother happens to be the world's best at sewing a zipper into a knitted garment. I often ask her to sew zippers into my finished knits for me and today she's going to walk us through exactly how she does it. The truth is, there is no secret, it's all about patience, attention to detail and practise. So, without further ado, here's how she does it:
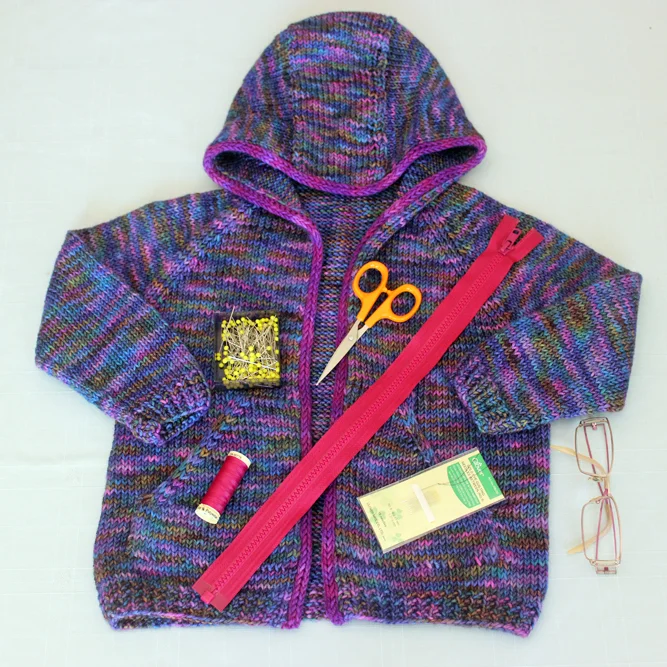
To sew in your zipper you'll need a separating zipper, scissors, pins, thread, a sewing needle and your glasses (Ha!) Block your sweater before sewing in the zipper. Block your sweater the way you intend to wash it going forward. If you plan on throwing it in the washer and dryer every time you wash it in the future, do that before sewing in the zipper so the stitches are laying in there final resting position.

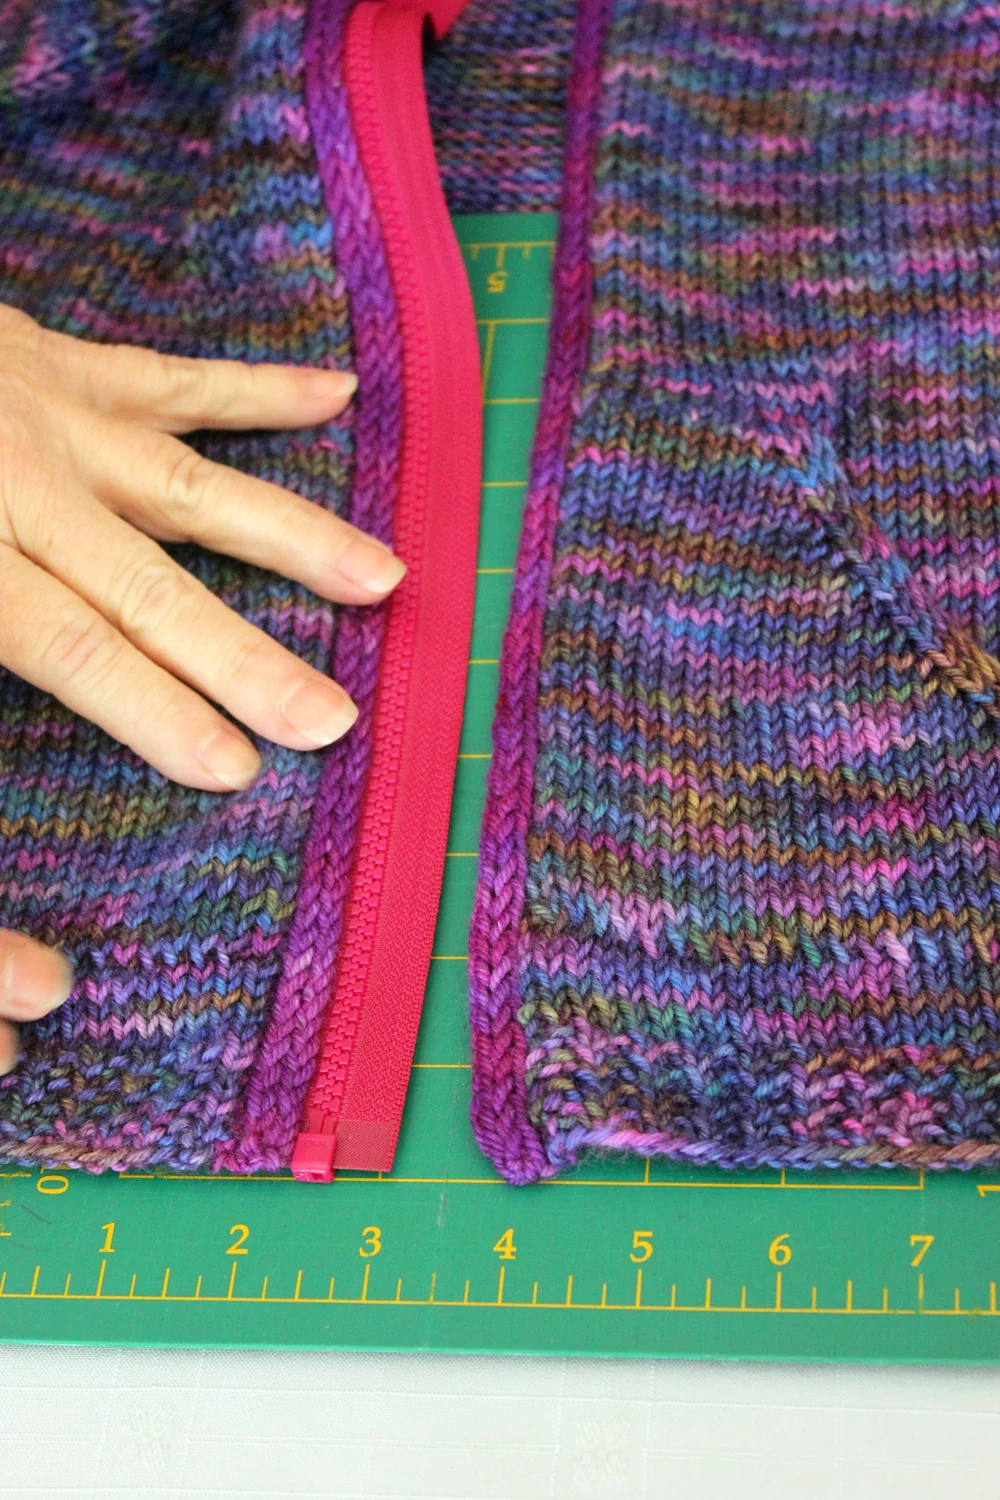
Working on a flat surface, a table or a counter top (probably not your lap) and with the zipper closed, starting at the bottom edge, carefully pin the zipper to one side of the sweater front. The trick here is to not pull the knitted fabric. The fabric stretches but the zipper does not. Pin and re-pin until it's laying perfectly flat.
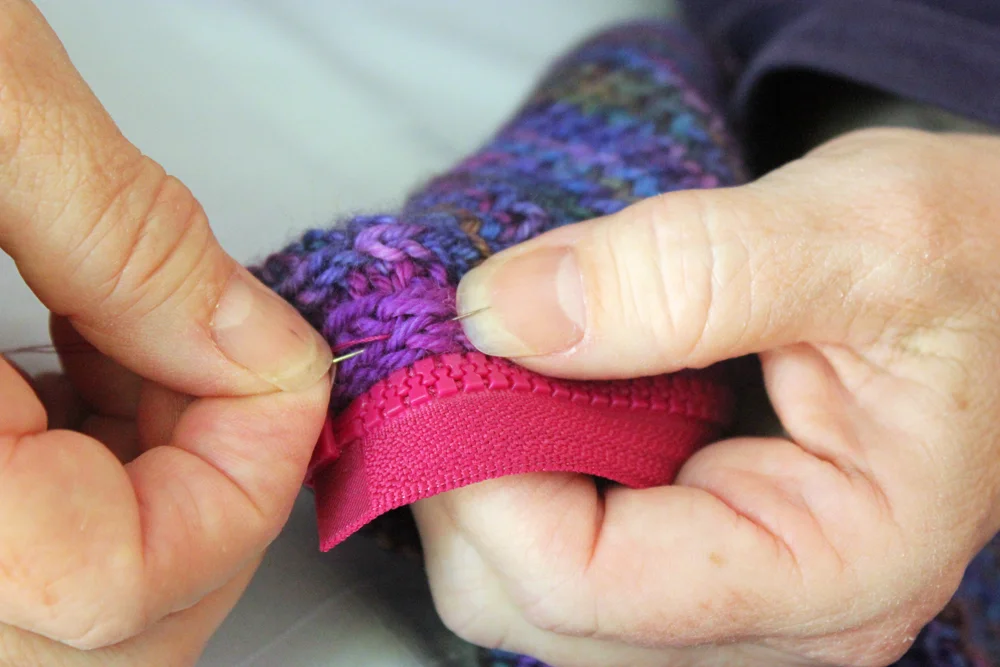
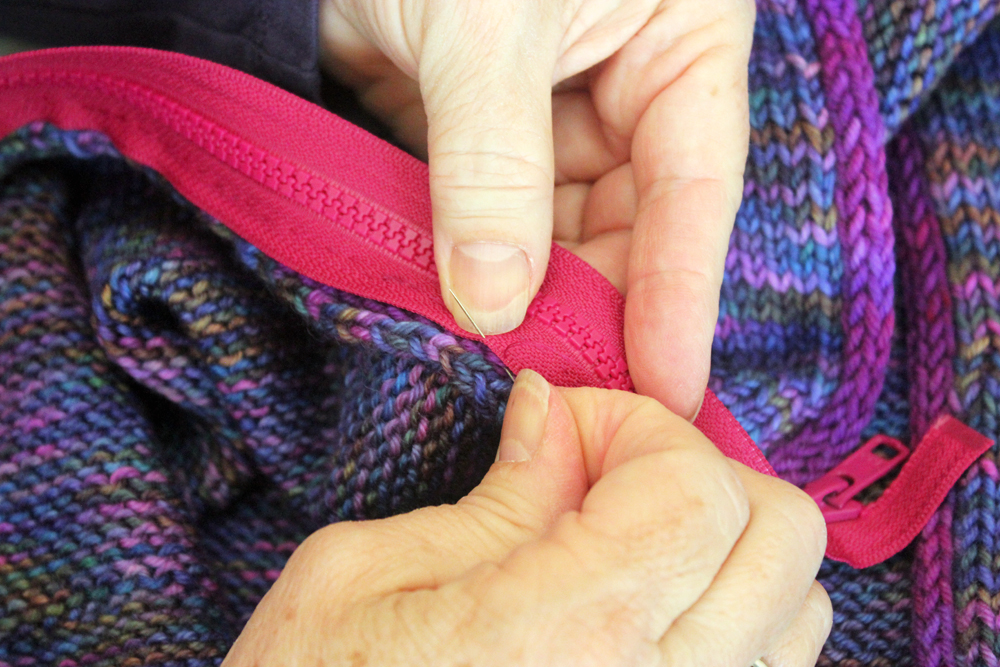
Using a double strand of polyester thread in a colour that matches your zipper, starting at bottom edge, begin sewing zipper to sweater using backstitch. Sew along a line between knit stitches in the icord. While sewing, be very careful not to stretch the sweater and try to keep the icord equidistant from the edge of the zipper the whole way up. One tip mom gave me that I hadn't thought of before was to start by inserting the needle from the right side to the wrong side so the knot is buried between the knitting fabric and the zipper. I always started from the wrong side and ended up with a big ugly knot un the wrong side of my knit, who wants that?
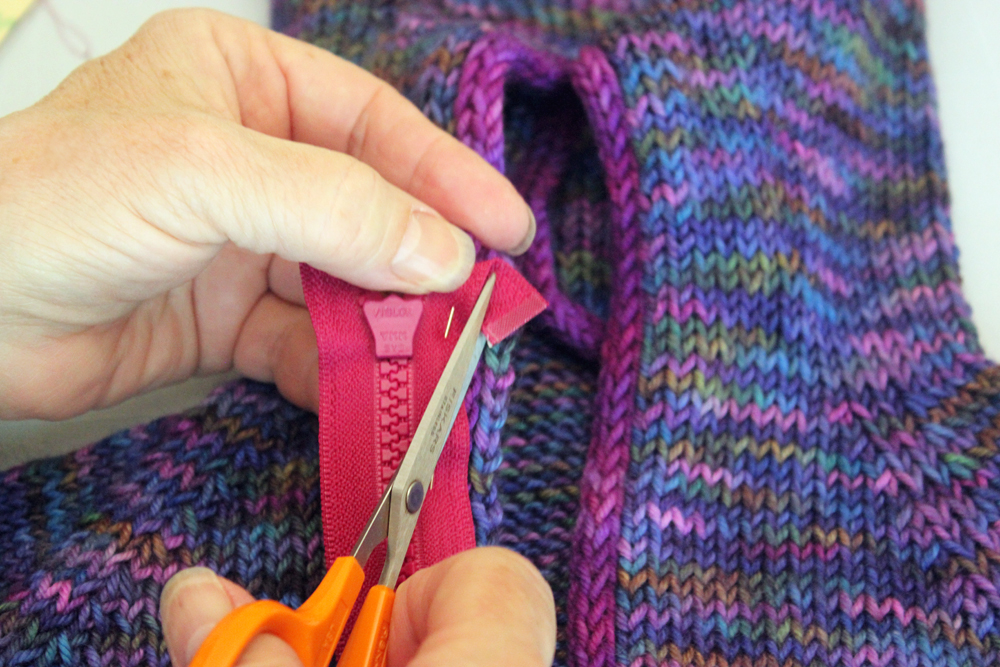
When you get to the top of the zipper, fold any extra zipper material under and snip it off so it lays flat and finish backstitching through both layers of zipper and the sweater. This step isn't mandatory, but it makes for a more comfortable and neat looking inside edge.
Another optional step that mom usually does is to tack the side of the zipper to the inside of the sweater using slip stitch. This, again, just helps it look neat and stay lying flat. It also makes it a bit more durable and secure. I know it's hard to see in the photos because the thread so closely matches the zipper, but the stitches are perfect, it's so neat and looks like the zipper was born to be in this sweater.
Voila! First side done. You might find it helpful to place a hard surface like a cutting board inside your sweater while you're pinning to make sure that you're only catching one side of the fabric. This way you can keep the sweater flat and not have to stick your hand up inside to pin, which also lessens the chances of stretching your fabric.
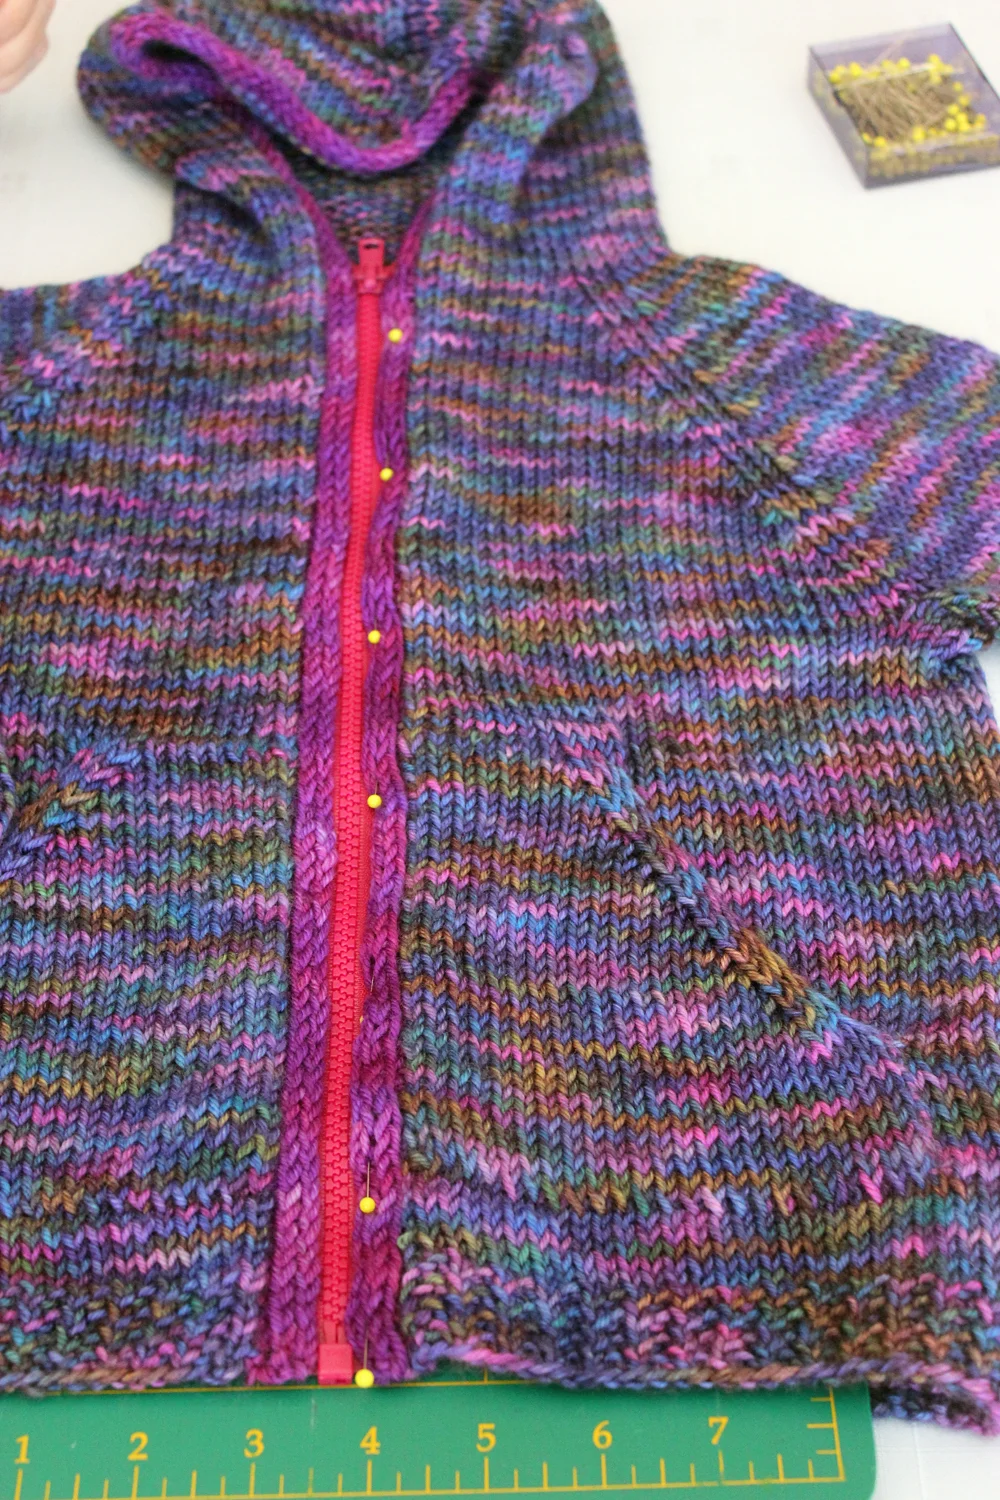
With the zipper closed, carefully pin up the second side of the sweater taking care to perfectly line up any distinguishable features like ribbing, pockets, stripes etc. This is where the finness comes in!
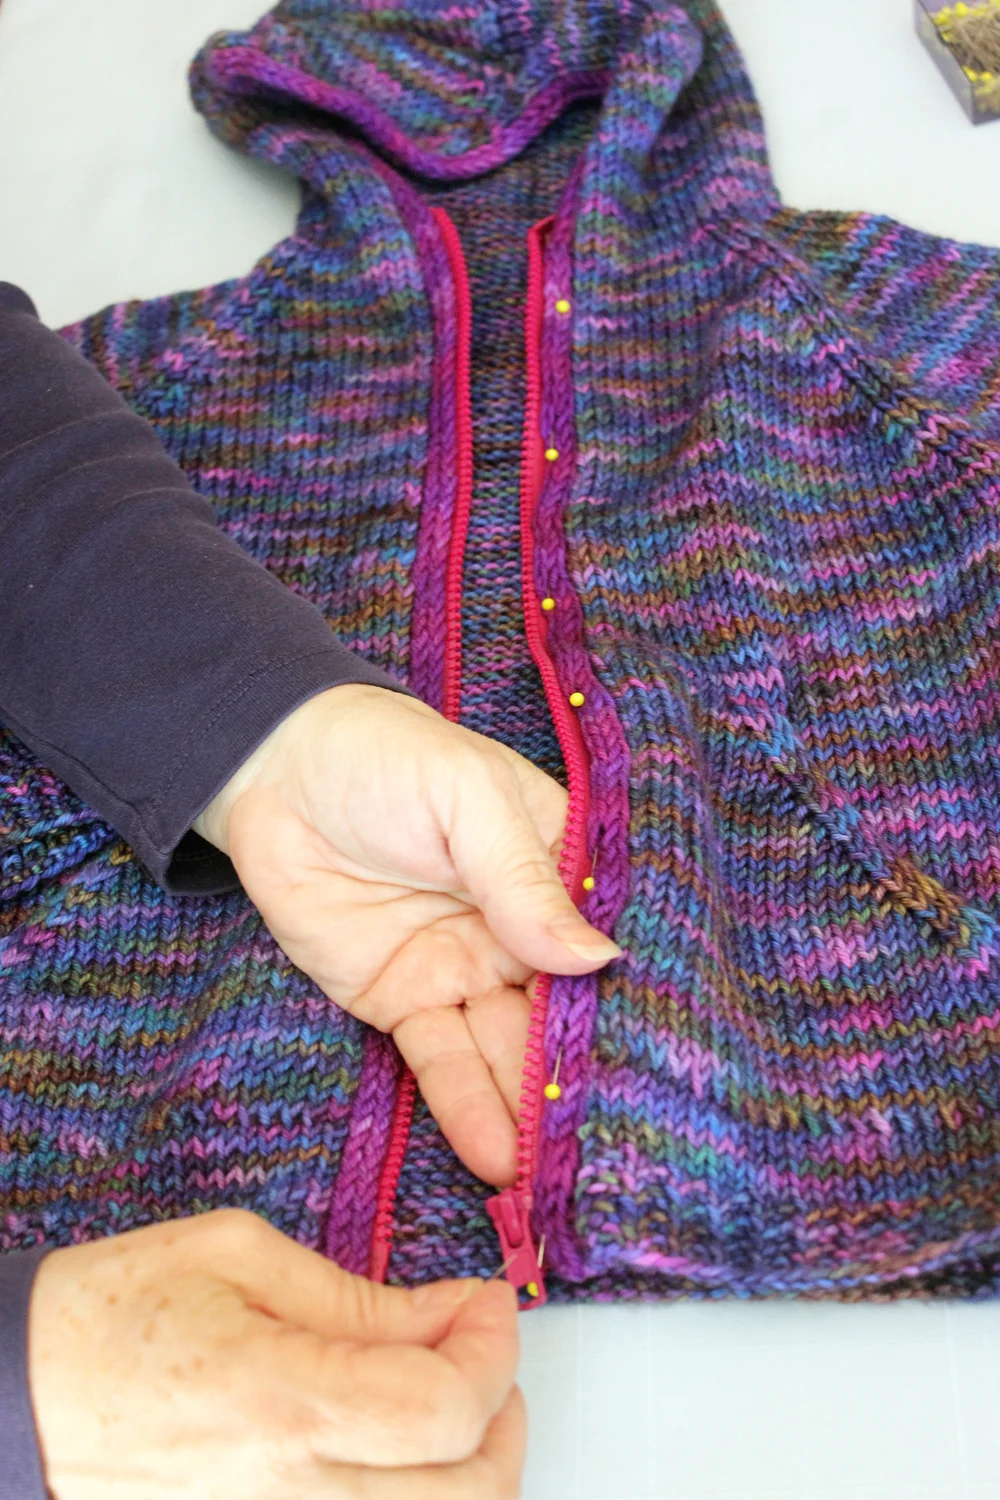
Unzip your zipper and backstitch the second side in place just like the first. Every once in a while pause and zip up the zipper to make sure that everything is still lining up correctly.

There you have it! A perfect zipper installation.
Though sewing in a zipper does require a bit of extra effort in finishing, I know from experience that it more than makes up for it in ease of use while you're wearing it. Throwing on a hoodie and pulling up a quick zipper is a game changer when it comes to getting two busy, tiny boys dressed and out the door in the morning.